Saturday, November 19, 2011

My Modern Baby Shoes

So I found this tutorial on Pinterest and I've been wanting to try it out. Yesterday I finally got around to it & it wasn't as hard as I thought. Until I kept messing up and then my sewing machine decided it didn't want to work with me. My first try wasn't so great..at all.

I'm not even going to go into why they were so bad. I think it's pretty obvious. The second time I wanted to do them in burlap with a patterned lining. This was tricky since I had to follow the directions backwards. 
This is my second pair:

I accidentally made two left shoes and I tried to play it off, but my husband noticed and then there was the fact that the seams are showing inside, which I did NOT like. I took a break for the night, since I had been working on the first two pairs for hours! This morning I worked on the third pair for about two hours and I am so happy with how they came out. I think they look adorable!


What do you think?? I am in love and will be making lots more!


-Tara

Monday, November 14, 2011

Mantel Update

One if these days, we WILL finish our fireplace and it will look the way we want it to, but for now we have to live with it. While we were in the midst of re-doing our living room {again}, Stephen decided to rip down the beams on the ceiling {they're not supporting} and in doing so, it left our fireplace looking pretty horrible. I had to repaint half of the fireplace and our mantel still has some paint on it...we're thinking we need to get a paint eater to remove all the stuff in the cracks. So, anyways, we were having some new company over and I was embarrassed with the way it looked, so I painted it the night before and then added some fall decor.


Mason jars with coffee beans and tealights

fresh pine-cones from Granny's yard :)

Wreath I made out of coffee filters

Love this candle from Target..has such a cute fall poem on it

LOVE this plaque!!

-Tara

Saturday, November 12, 2011

Tinsel Tree

I've been seeing these cone and paper mache "Christmas trees" on (where else?) Pinterest and I thought they were so cute!! I read a few different tutorials and found that you can make the cones yourself out of poster board for a super cheap price, but I didn't want to spend a whole weekend trying to figure out how to mark and cut and mark and cut poster board. Not my thing. Well I was at my beloved Hobby Lobby and came across this BIG paper mache cone..it was 40% off, so I ended up getting it for $3 or $4!
{Sorry the picture is so dark, I couldn't get the lighting right}

I bought some of this tiny tinsel ( I actually ended up using 5-they each have about 15 ft. of tinsel)

And I wrapped it around that tree for what seemed like FOREVERRRRR!


 And then I finally ended up with this beautiful little thing!

I did actually enjoy doing this, but I'm not on any fast trains to make another one anytime soon...it wore me OUT! I am loving all these Christmas projects!! I have a ton of baby things I want to make that I want to share with you, but I that will have to wait until after the holidays..
Have a great Sunday!!

-Tara

Friday, November 11, 2011

Fall Decor Love

I just can't get enough of this website. I am in love with all of the fall decor I can find on here! Most of them are simple DIY projects almost anyone can do!


love the idea of a "Thankful" tree

 this is a foam ball wrapped in tissue paper!


Total change of topic, but I realized I haven't been "counting my blessings" on here in awhile and I think I left off at #18. So here's my list for today:
18. Thankful for my husband having the day off due to Veterans Day
19. Thankful for those who have served and continue to serve for our freedom
20. We're having another little girl!! My husband is SO proud-he was praying for another girl..so sweet!
21. I am thankful to be able to stay home with our baby girl even though times can be tough
22. I am blessed with wonderful family & friends
23. For a SUPER wonderful pregnancy-I often forget I am pregnant, it's that easy!
24. Thankful for a home, food, a running vehicle, hot water, and all the extras that aren't necessary.
25. Thankful for God's daily provision and His consistent love for us even when we neglect Him.

-Tara

Thursday, November 10, 2011

Burlap Stocking Tutorial

I haven't blogged in awhile & I've been wanting to show you the changes we've made in our house, but there are still some small things that need to be done and I want it all to be perfect! So until then, I will work on my Christmas crafts and share those with you. A few weeks ago, I bought burlap and muslin to make Christmas stocking out of burlap, like these I found on Pinterest:


Gorgeous, right?! I love the look and since there are three of us now, I wanted stockings that matched. {Side note:There will be a fourth addition to our family next Christmas!!!} There were no tutorials on how to make these, so I bought two yards of muslin and burlap and I winged it! My tutorial might not be the 100% correct way to make these, but I'm going to share anyway, because it worked for me. 

First step-I folded the burlap in half so that when I cut the fabric, I have the front & back of the stocking in one step. Then, I took one of our stockings and laid it on the burlap to trace an outline. 

Step Two-I found this great tip online: Tape two pencils or pens together and trace along your pattern piece to give you the extra seam allowance you need! Since I couldn't find any pencils, I used two pens and traced:


Next, I ironed my fabric {I know, I did it out of order...I do things this way quite often}

Then cut the fabric-make sure you cut on the outer line!!

Repeat these steps for the muslin, too. 
Don't worry about the lines showing, because they won't! 

I don't have a picture for the next step, but basically I took a piece of burlap and a piece of muslin and pinned them together. When you start to sew, leave about an inch of space at the top.


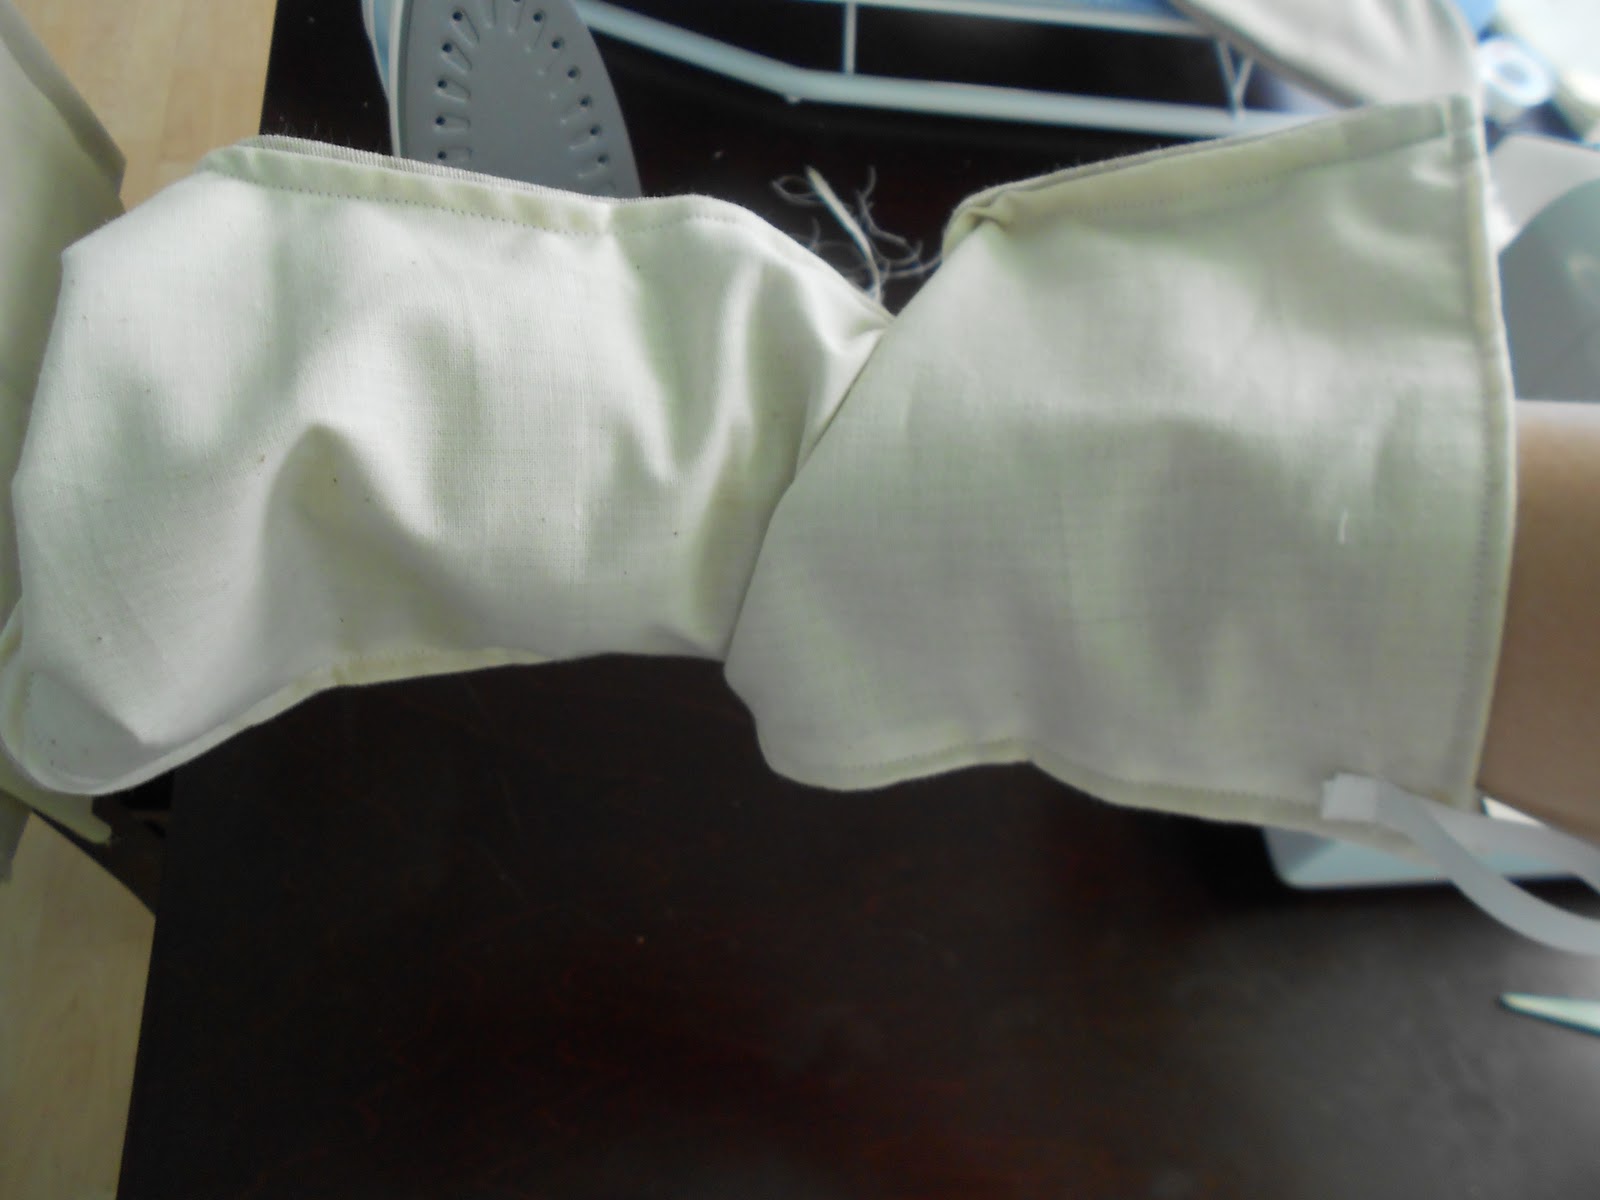
Sew the sides and bottom together leaving the top open. When you turn it inside out, it should look like this


Fold the raw edges down about 1/2" each two times so that it's extra sturdy. Then sew

Repeat sewing steps with the second piece of burlap and muslin. When you have your two pieces finished, cut about 4 1/2 inches of any color ribbon and pin it to the inside of one side of your stockings like this:

Sew a few stitches back and forth to make it tight and secure. 

Now take your two stocking pieces and pin them with the burlap sides facing each other

 Sew sides and bottom together

 This is what it should look like

Turn it inside out


Iron to give it a nice, clean look

Ta-DA!! The finished product-do as many as you like..I did it four times. The first took a little longer
but after I figured it out, they took about 15 minutes each. Pretty simple! I'm not done...I want to add some pretty initials or something to make them look nicer, but I still haven't decided. I will update as soon as the finishing touches are complete!

-Tara