Thursday, November 10, 2011

Burlap Stocking Tutorial

I haven't blogged in awhile & I've been wanting to show you the changes we've made in our house, but there are still some small things that need to be done and I want it all to be perfect! So until then, I will work on my Christmas crafts and share those with you. A few weeks ago, I bought burlap and muslin to make Christmas stocking out of burlap, like these I found on Pinterest:


Gorgeous, right?! I love the look and since there are three of us now, I wanted stockings that matched. {Side note:There will be a fourth addition to our family next Christmas!!!} There were no tutorials on how to make these, so I bought two yards of muslin and burlap and I winged it! My tutorial might not be the 100% correct way to make these, but I'm going to share anyway, because it worked for me. 

First step-I folded the burlap in half so that when I cut the fabric, I have the front & back of the stocking in one step. Then, I took one of our stockings and laid it on the burlap to trace an outline. 

Step Two-I found this great tip online: Tape two pencils or pens together and trace along your pattern piece to give you the extra seam allowance you need! Since I couldn't find any pencils, I used two pens and traced:


Next, I ironed my fabric {I know, I did it out of order...I do things this way quite often}

Then cut the fabric-make sure you cut on the outer line!!

Repeat these steps for the muslin, too. 
Don't worry about the lines showing, because they won't! 

I don't have a picture for the next step, but basically I took a piece of burlap and a piece of muslin and pinned them together. When you start to sew, leave about an inch of space at the top.


Sew the sides and bottom together leaving the top open. When you turn it inside out, it should look like this


Fold the raw edges down about 1/2" each two times so that it's extra sturdy. Then sew

Repeat sewing steps with the second piece of burlap and muslin. When you have your two pieces finished, cut about 4 1/2 inches of any color ribbon and pin it to the inside of one side of your stockings like this:

Sew a few stitches back and forth to make it tight and secure. 

Now take your two stocking pieces and pin them with the burlap sides facing each other

 Sew sides and bottom together

 This is what it should look like

Turn it inside out
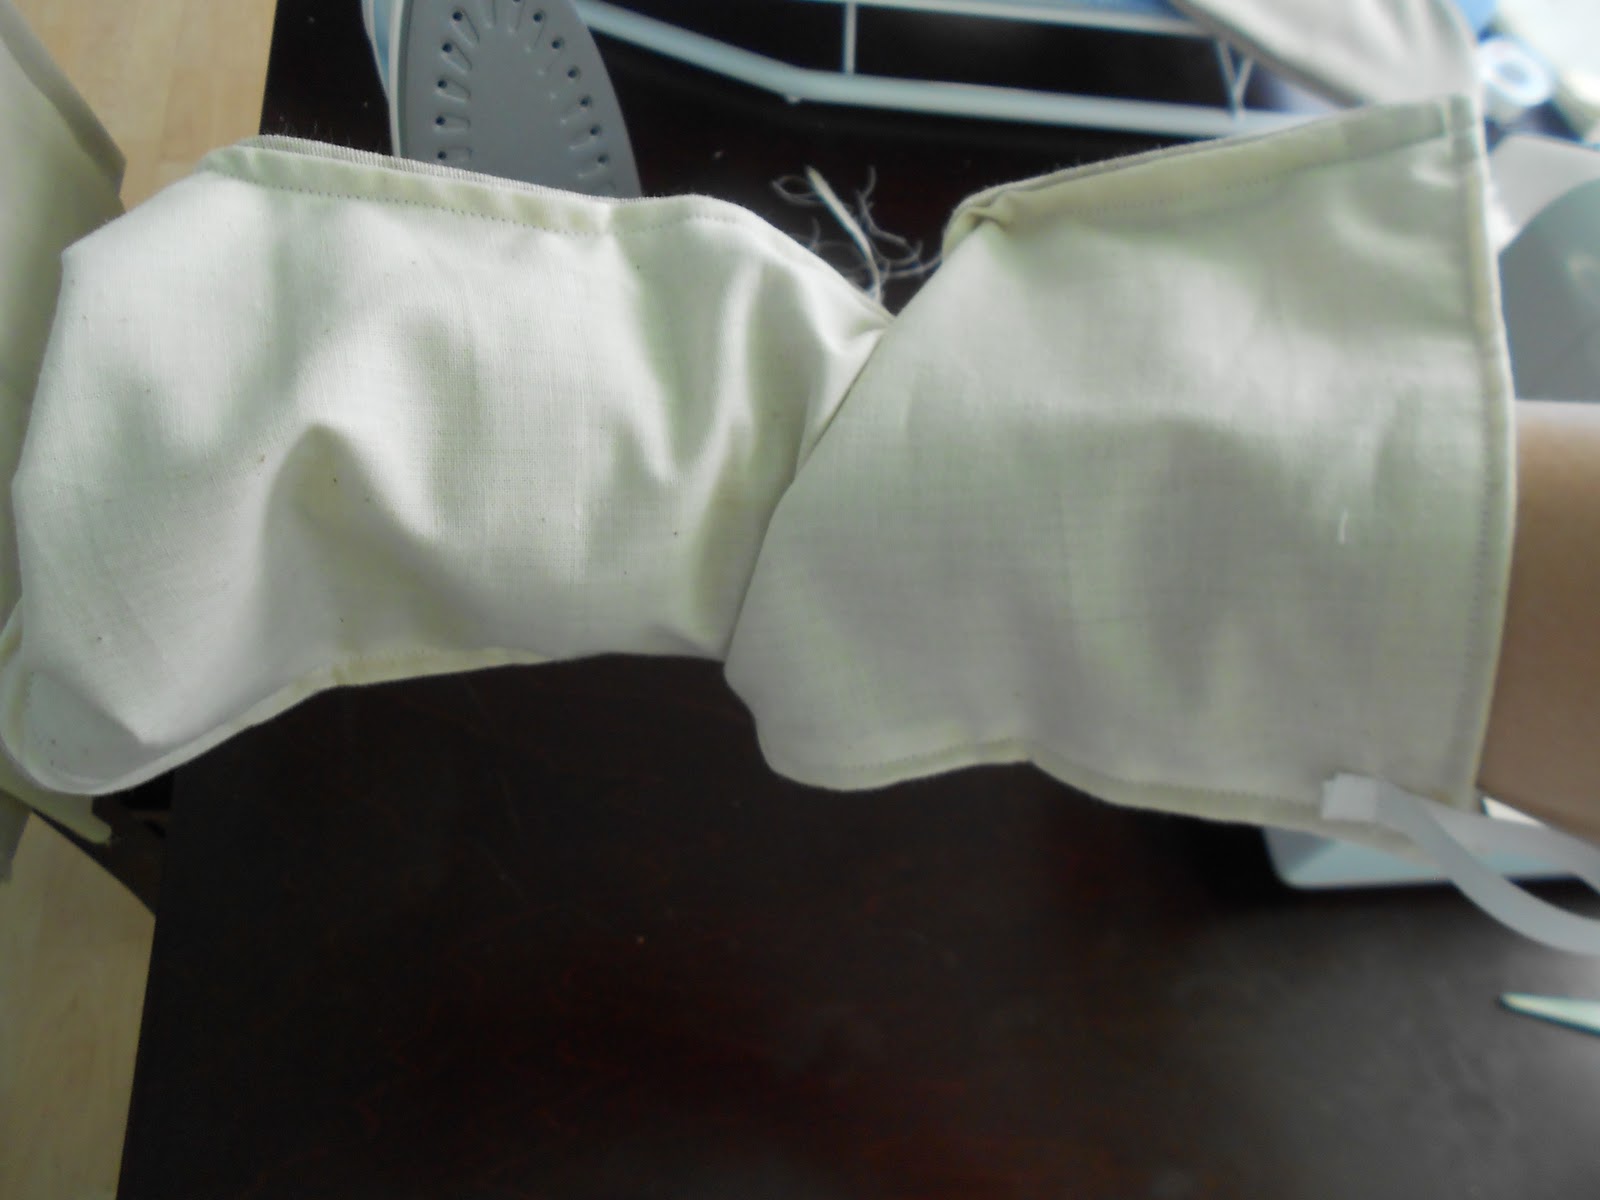


Iron to give it a nice, clean look

Ta-DA!! The finished product-do as many as you like..I did it four times. The first took a little longer
but after I figured it out, they took about 15 minutes each. Pretty simple! I'm not done...I want to add some pretty initials or something to make them look nicer, but I still haven't decided. I will update as soon as the finishing touches are complete!

-Tara

Tuesday, October 18, 2011

Christmas Crafting with my Mom

Because of my love obsession with Pinterest, I am constantly finding crafts that I want to try. And because Christmas isn't too far off, I've been pinning a lot of Christmas projects. I came across this pretty wreath made of coffee filters and wanted to give this one a try!

I found the tutorial here. It looked so easy and pretty for something made out of coffee filters that I was a little worried mine wouldn't turn out half as good. My mom came over Monday and we got to work on our wreaths. It took us about 2 hours and we had beautiful wreaths!!


I am SO pleased with how it turned out. I'm still not quite done with it. I want to add more Christmas-ey decorations, but that's for another day. Thursday will be our next Christmas craft & I'm so excited to share that with you too!

Friday, September 23, 2011

House Projects

I can't believe how long it's been since I've posted! I have so many things I want to post about, but most of them are about the house projects we're working on. We have SO many projects going at once. We're hoping to finish them all within the next month (crossing our fingers)! I also want to blog about projects I have done and a few that I want to do, but for now I'm going show you what our house looks like. Please don't judge, I KNOW it looks crazy!! 


This is our mantle-we originally painted it white and then didn't like it, so we're in the process of stripping the paint to stain it.


Actually, our whole fireplace is something we've decided to makeover-again!

This is our kitchen ceiling-waiting to be beautified with beadboard

Our kitchen still needs lots of work: Cabinet doors painted and put up, backsplash, new countertops, hardware, and some paint!

We the husband ripped down the paneling and we're trading it all in for some textured walls-all the lines are glue remains

Our flooring is down, but we need to lay down the transition pieces

We need to replace all of the trim! And the piece of wall that is missing :(

Guest room flooring is thisclose to being finished!

THEN we need to clear it all out so we can slowly move things in/change things up for the new baby :)

Doors need to be put back on their hinges

Our back door will soon be replaced-SO excited!!!


And we are desperately hoping that this will be knocked down and that horrible bush will be banished from our yard!


See?! LOTS of work, right?? You'd think we'd have Caution tape everywhere. hahaha. I will be posting pictures of everything completed hopefully within the next month. I am so excited!

Tuesday, July 26, 2011

In Love With Wreaths

I don't know if I have told you or not, but I am OBSESSED with Pinterest! I am always searching for recipes or crafts to try out and I recently came across this picture of a wreath:


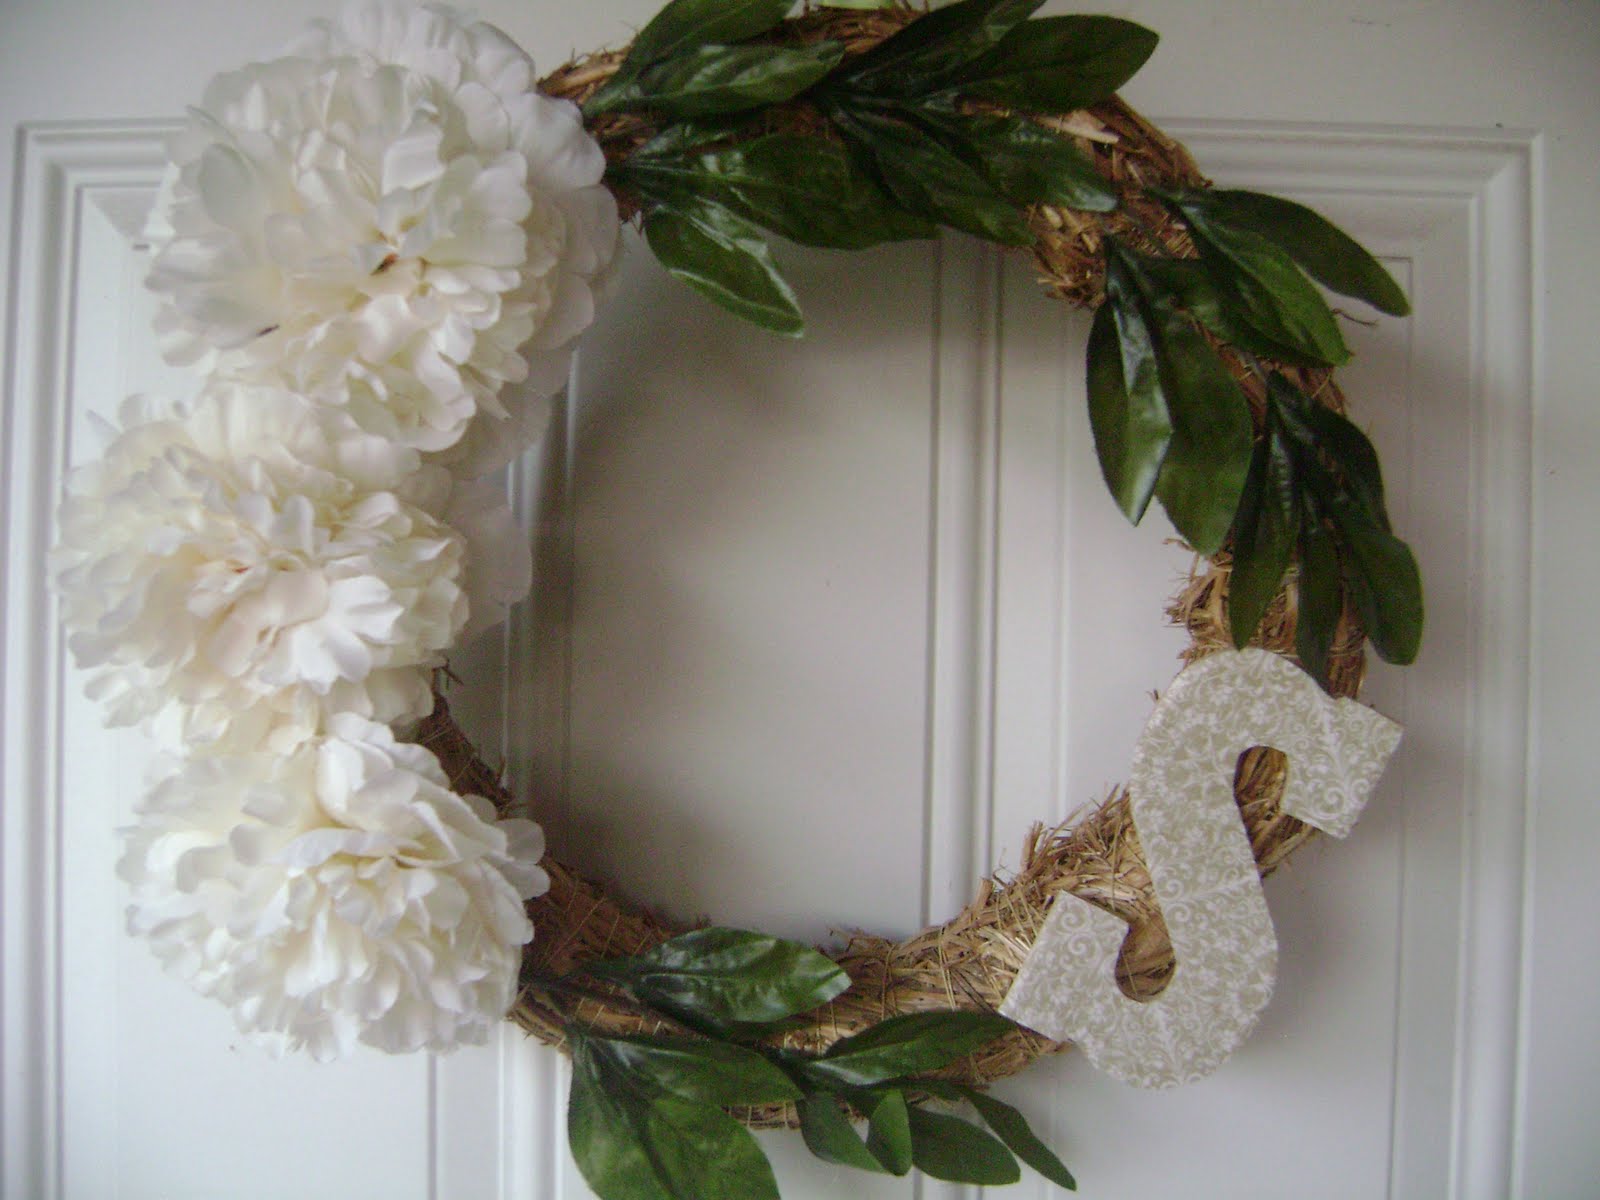
Isn't it pretty?! I love it and I decided to make one for myself. Mine is a little different, but here it is:


Instead of the house number, I decided to go with the letter "S" for our last name. I love it! I had so much fun, I'm already planning on making a fall & Christmas one! And I will definitely post pictures of those ;)


Hope everyone is having a wonderful week!


Tara

Wednesday, July 6, 2011

Kitchen Towels Make Great Throw Pillows!

I was at Tar-jay {Target} the other day when I came across a set of 2 kitchen towels that were on clearance for $1.38. They had some in a fun yellow pattern and a pretty blue-ish pattern. I wasn't going to use them as towels, but I wanted to take them home and come up with something to do with them. And I figured it out fast! I was going to make them into throw pillows!!


Here are the "before-I-sewed-them-but-after-I-cut-them-in-half" shots:


I'm loving the blue ones more but I thought the yellow would add some cheerfulness :)


So anyways, I sewed them right sides together, stuffed them with Fiber-fill & sewed them shut! I have two more to do {one of each} but I ran out of Fiber-fill. So here they are:


We're going to paint our room a light gray color & there will be lots of white. I think these pillows would add fun pops of color.


Tara

Friday, July 1, 2011

From Palate to Coffee Table

I have been super addicted to Pinterest lately. I can't pull myself away from it! I love all the recipes, the fashion boards, the DIY projects, and all of the home inspiration. The other day I was scrolling through the website and I came across alot of things to do with palates.


{rustic baskets-I'd totally use these to store blankets!}


{awesome sofa bed}


{LOVE this sofa bed}


{rustic headboard}


{super cute for the fireplace}


{another sweet headboard}


{coffee tables}

I thought these were such awesome ways to get use out of palates! And you can totally find them free or at a Habitat for Humanity re-store.
I love the rustic vintage feel it gives off and after my shutter headboard project, I'm definitely going to tackle making a coffee table out of palates. Can't wait!!  


Tara